
Introduction
Guest access in Microsoft 365 is a great way of securely collaborating with people outside of your organisation. You can share and collaborate on files, and chat in Teams, all while keeping control of your data inside your tenant. But there’s a clear security risk in letting anyone with an email address get to your organisational data. This blog runs through the steps required to configure guest access with sensible security options.
Guest accounts are perfect for regular collaborators. Of course, if you’re interested in a one-time transfer of a file, there’s Trebuchet.
This blog explains all the basics for setting up guests on a tenant, the old fashioned way. There is also an alternative approach that uses Identity Governance, which allows you to implement approval and renewal processes, which we’ve not covered here. But thanks to Shane from A2G Cyber for the tip.
Guest Account Setup
Initial AzureAD Configuration
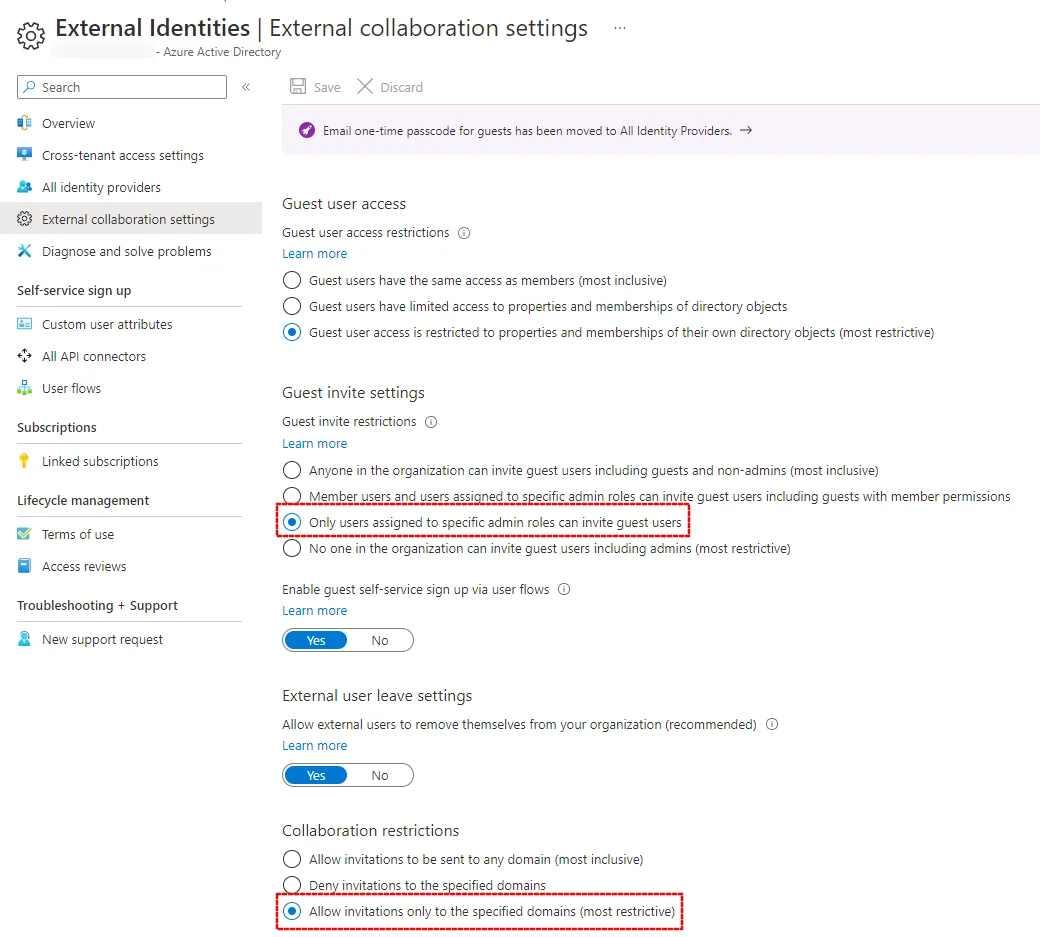
Before inviting any guests, there is some necessary configuration to do in AzureAD and SharePoint. First, we need to enable collaboration in the External collaboration settings. It’s sensible to restrict guest account invitation to administrators (1), and if collaboration is just between a small number of businesses, to restrict invitations to only listed domains:
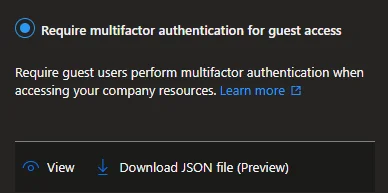
You’ll probably want to enforce MFA for guests, which can be done with a Conditional Access Policy. Helpfully, there’s a template in the zero-trust category:
Cross-Tenant Access
Guests from another Microsoft 365 tenant can use their existing MFA to sign into your tenant, which is a nice convenience for those of us already managing too many MFA accounts. It’s all managed from one Azure AD page, External Identities in Azure AD.
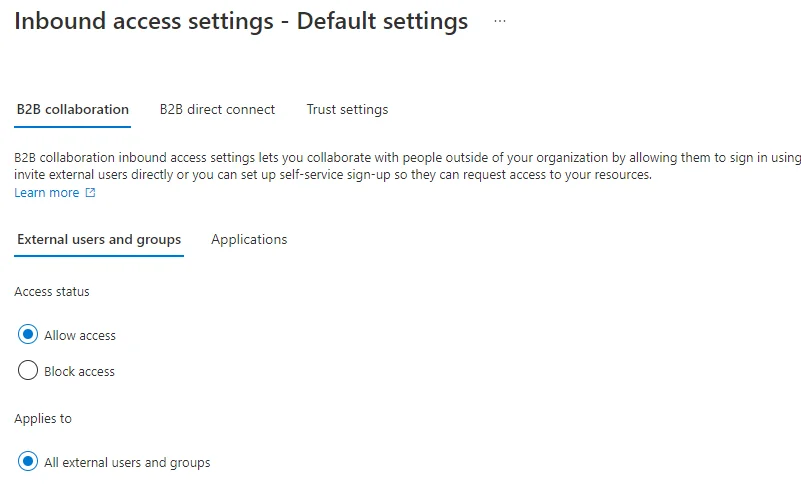
By enabling inbound (i.e. from their tenant into yours) access on the default inbound access page, users from other tenants can sign into your tenant. You need to allow access:
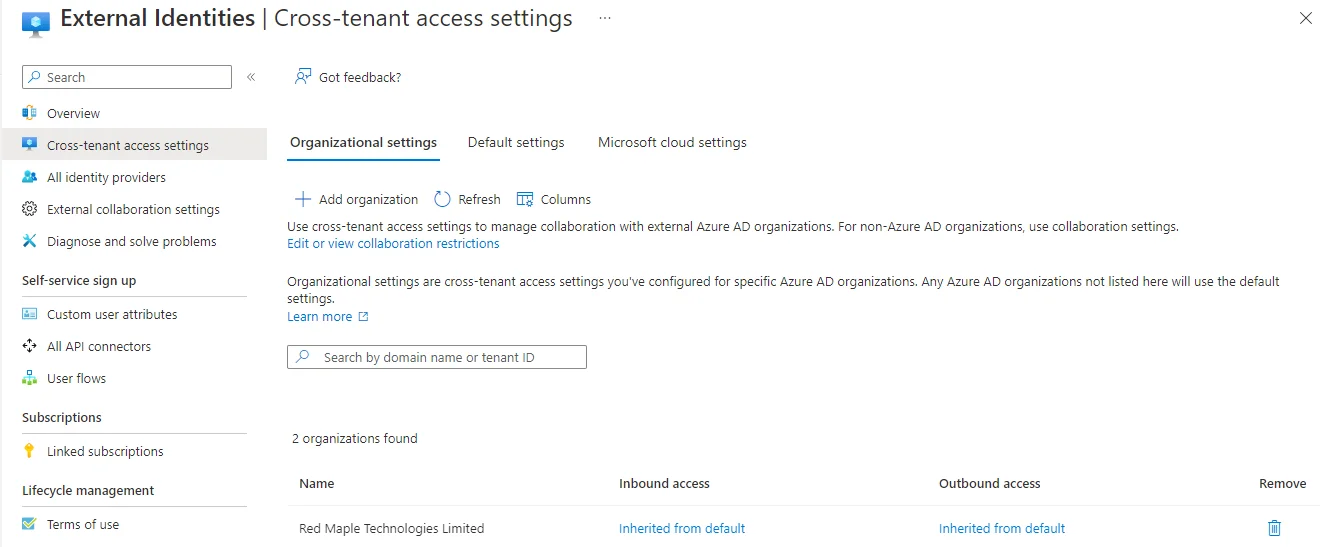
You’ll also need to add the specific tenants to which your new guests belong, in the cross-tenant access settings. For example, a customer’s tenant has us listed as a trusted external tenant:
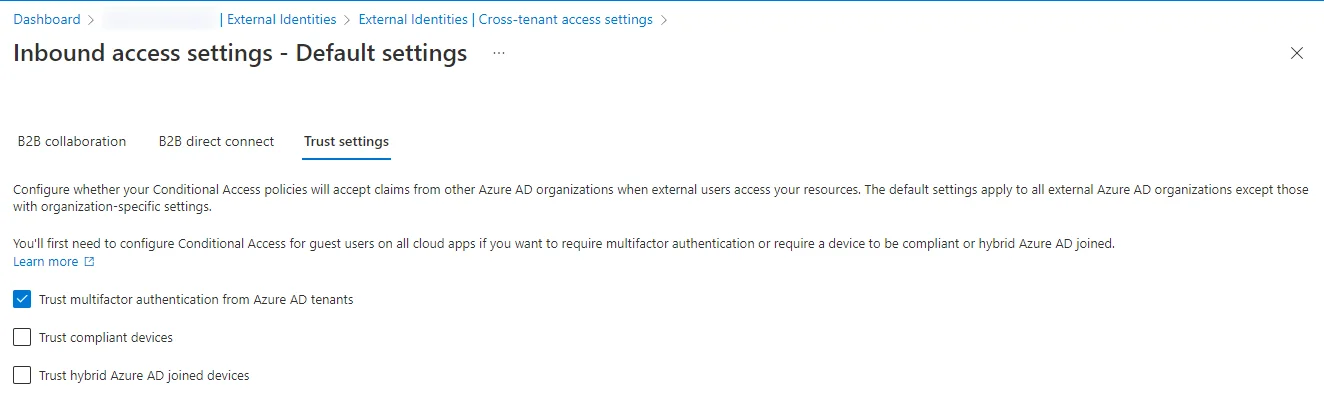
Finally, you can then enable the trusting of other tenant’s MFA in the default inbound access trust settings:
Initial SharePoint Configuration
If you want guests to use a SharePoint site, don’t forget to update the SharePoint settings. It’s all managed from the SharePoint external access settings panel (which will be at something like https://<your domain>-admin.sharepoint.com/_layouts/15/online/AdminHome.aspx#/sharing):
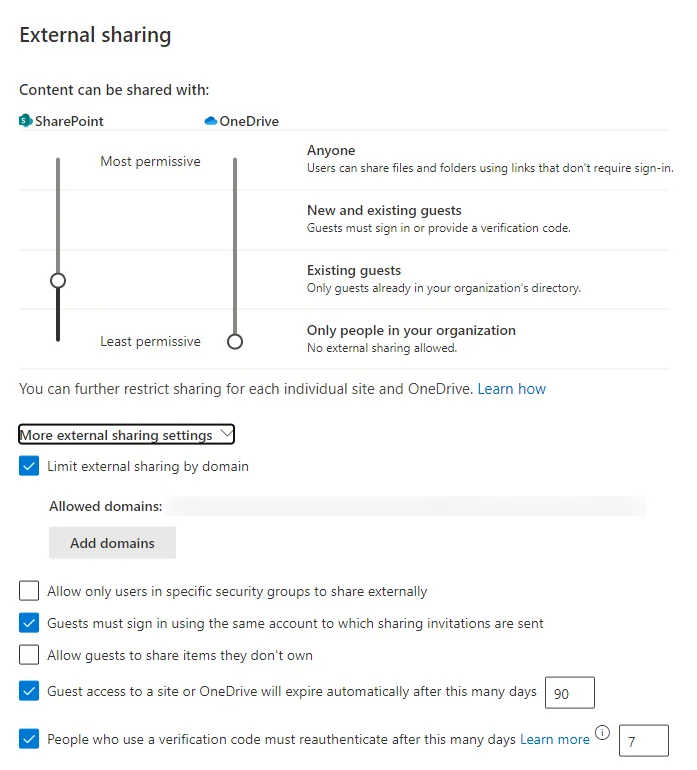
The following settings are a reasonable starting point for most:
- External sharing for SharePoint (the left-hand slider) set to at least
Existing guests, which allows access for existing guest accounts but not new guests. The option forNew and existing guestswill support a single invitation process. I can’t imagine a good scenario forAnyone, other than hosting public documents on a given site. - It’s a good idea to limit sharing by domain, especially if you’re looking to enable business-to-business collaboration. If you find yourself adding
gmail.comas a domain, maybe this policy isn’t as effective. - An
External Sharingsecurity group, and the option toAllow only users in specific security groups to share externallyis also a good option to internally restrict sharing to those with a legitimate business requirement. - The remaining settings are generally straight-forward
- It makes sense to tie guest access to a given email address for each guest.
- Most people wouldn’t want to let guests share items themselves.
- Guest access expiring after a set limit forces a regular re-evaluation of hte access requirement.
Don’t forget that SharePoint sites will inherit permissions from the global settings by default, but can also have their own settings.
Existing SharePoint Access
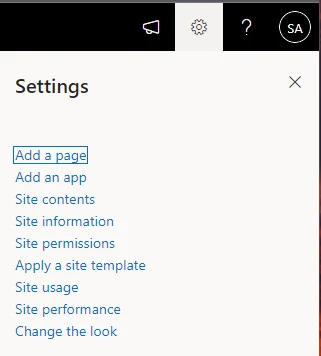
We recommend administrators stick to using groups to manage users and permissions, and try to avoid allowing sharing of subfolders or files, otherwise management of existing access is tricky. To get a report of existing sharing and access, there is a useful option to generate an access report for a given site. Go to site usage from the site settings:
And at the bottom there should be an option to Run report:
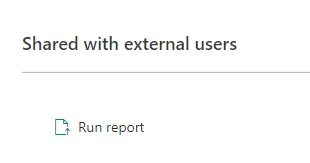
This requires a location in the SharePoint site into which the CSV report will be saved. The report lists all access for each file and folder, and whether that access is Full Control/Read/Edit. It’ll be a sizable file for a large site, but things like someone with direct access to a file should stand out. We wrote a little tool to parse the CSV, summarise the results, and highlight sharing links (where the file has been sent to an individual), which can be otherwise hard to keep track of.
Inviting a Guest
To invite a guest to a tenant, go to the Azure AD users page, and Invite External User from the New Users menu:
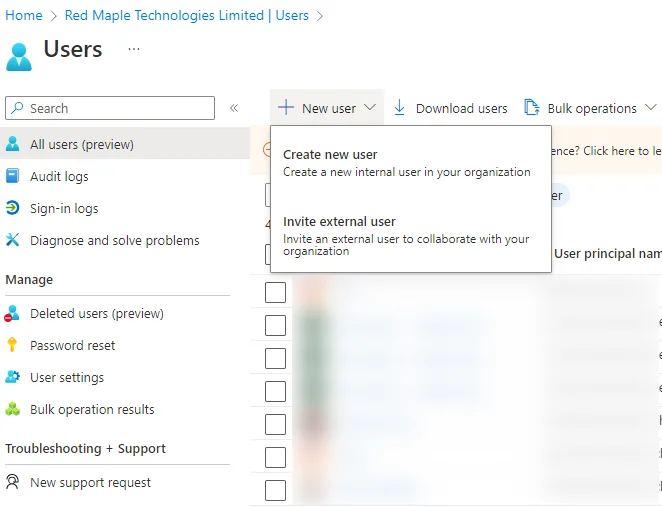
Fill in the required details and it’ll send out an invitation, which requires them to complete the steps detailed in the following section.
This doesn’t yet give them access to anything, unless you’ve added them to a group as part of the invitation process (and the group membership gives access to something). Once they’re in the tenant they can be added to a Team or SharePoint site, or to an application.
Existing External Guests
All guest accounts are listed in m365 Admin as well as in Azure AD.
Guest Process
As with many things, we’d recommend guests use a separate browser profile (for Edge/Chrome but not Safari) for their guest access, which keeps it separate from other accounts.
For a prospective guest, the first thing they’ll get is a fairly non-descript email invitation, which comes with a hefty security warning:
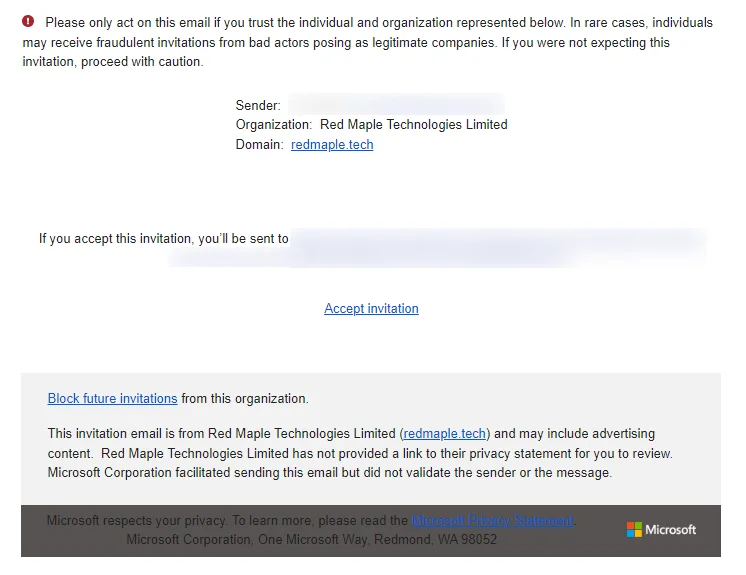
It’s worth notifiying new guests about the process, as the email invitation isn’t the most obvious to people who aren’t expecting it.
Once they click the link, the process is as follows:
- Click the link to accept the invitation.
- To confirm the address it sends a code to your email, which you need to copy and paste into the browser.
- Accept the permissions warning.
- If MFA is enforced (as it should be), you’ll then get a
More Information is Requiredpage, which is just the first part of MFA sign-up. hitNext. - You’ll need to configure MFA, which is most easily done with the Microsoft Authenticator mobile application. You can choose security prompts or a verification code:
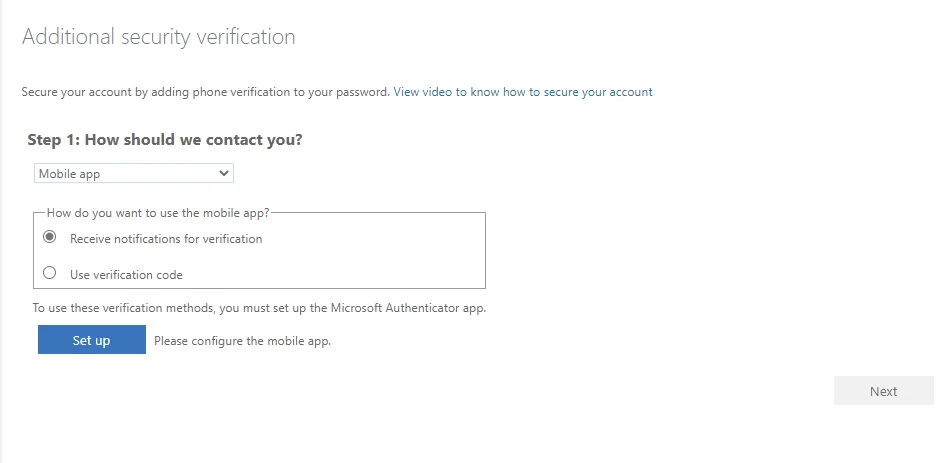
- In Microsoft Authenticator, select
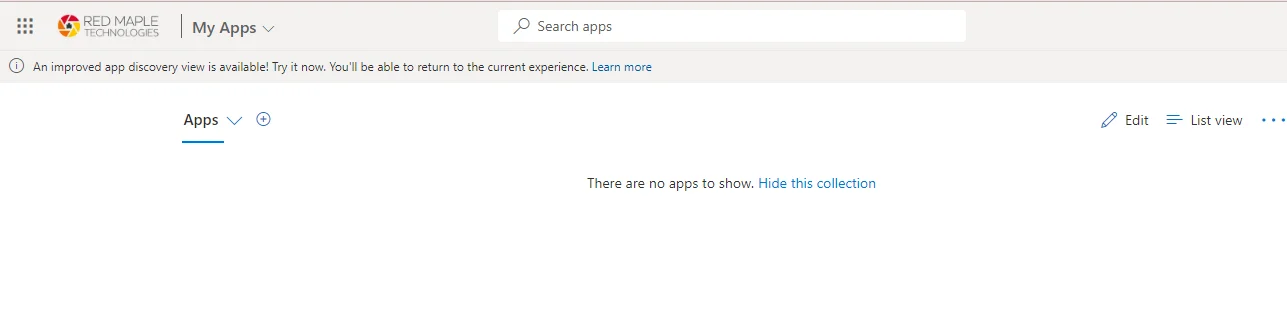
work or school account, and scan the QR code. If it’s the first time you’ve used the app, it’ll request camera access. ClickNextagain, then it’ll test the authenticator setup by sending a notification or requesting a code. - And that should be it. If your guest account doesn’t yet have any access assigned, you’ll get a sparse-looking page like this:
- You should be notified by email when you’re added to a Team or a SharePoint site.
- Getting Started with Microsoft Intune - Part 2
- Getting Started with Microsoft Intune - Part 1
- How to Avoid MFA Mistakes with Microsoft 365

|
Scott is a technical cyber security professional with over fifteen years’ experience across a broad range of roles within the public and private sectors. With a deep understanding of cyber security, he has in his career focused on applied cryptography, network technologies, digital forensics and security research. At Red Maple he leads the delivery of all of our cyber security services. |