Want to see where that dodgy link goes, install a temporary application or inspect a suspicious file? If you’re on Windows, if you enable the Sandbox it’s the perfect tool.
What is it?
Windows Sandbox is a convenient, pre-installed and licenced virtualised version of Windows. You can launch it, do what you want, and when you close it it’s all gone:
As the documentation says:
Windows Sandbox provides a lightweight desktop environment to safely run applications in isolation. Software installed inside the Windows Sandbox environment remains “sandboxed” and runs separately from the host machine.
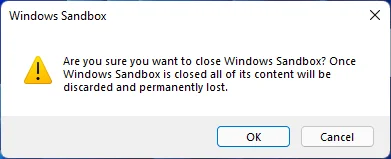
A sandbox is temporary. When it’s closed, all the software and files and the state are deleted. You get a brand-new instance of the sandbox every time you open the application.
What’s it for?
Well, anything really. But given its ephemeral nature, it’s very well suited to temporary tasks where you don’t want to affect your main computer. Think installing some application to test it or use it once, or inspecting unusual or suspicious links and documents.
Getting Started
As Microsoft article states, you need to be on “Windows 10 Pro, Enterprise or Education build 18305 or Windows 11”, so not Windows 10 Home, for example. If you one of the supported versions, and have virtualisation enabled, it’s pretty straight forward to install; you just need to enable it as a Windows feature.
See this good guide for step-by-step instructions.
Note that if you’re using VMWare to run other Virtual Machines, Sandbox (and Hyper-V) may conflict.
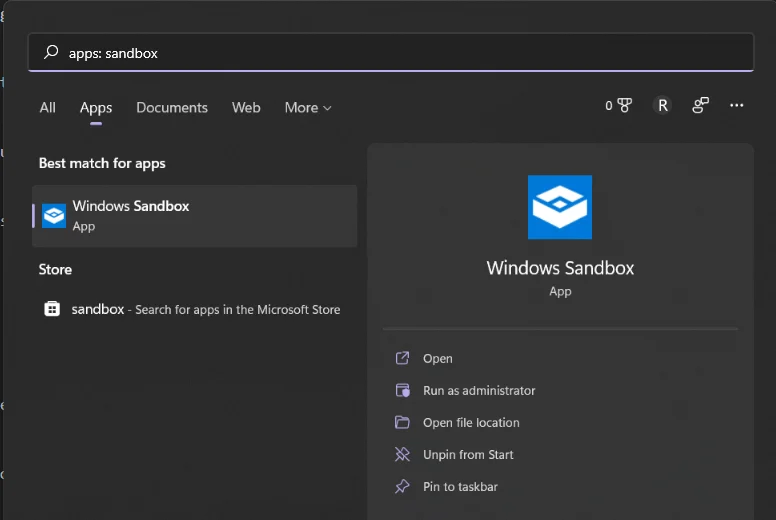
After it’s enabled, you can just run it from the Start Menu:
That launches the vanilla Sandbox, which is fine for a lot of things. Even better though: you can specify a configuration file to launch a custom sandbox.
Configuration Files
Sandbox configuration files are in XML, and should be saved with the .wsb extension. They can then be double-clicked to launch a sandbox in that configuration. The configuration files support a range of options and keywords. As listed in this Microsoft page, there are a few optional keywords of particular interest:
| Keyword | Options |
|---|---|
| vGPU | Enable or disable hardware GPU sharing |
| Networking | Enables or disables networking |
| MappedFolders | An array of folders mapped from the host to the sandbox, in absolute paths only |
| LogonCommand | Specifies a single command that will be invoked automatically after the sandbox logs on |
| ProtectedClient | Applies additional security settings to the sandbox Remote Desktop client |
| ClipboardRedirection | Enables or disables sharing of the host clipboard with the sandbox |
Other options allow for enabling or disabling the audio and video, redirecting printers and other things.
Networking
For example, you can use a Networking entry to disable networking on the sandbox:
<Configuration>
    <Networking>Disable</Networking>
</Configuration>
This is useful for examining suspicious files, where you want to deny network access to the whole virtual environment.
Mapped Folders
You can use the configuration file to map a local folder into the sandbox, and optionally make it read-only. For example, if we want to map a couple of local folders:
<MappedFolders>
   <MappedFolder>
     <HostFolder>C:\Users\scott\Work\windows\win_sandbox\share</HostFolder>
     <ReadOnly>false</ReadOnly>
   </MappedFolder>
   <MappedFolder>
     <HostFolder>C:\Users\scott\Work\windows\win_sandbox\install</HostFolder>
     <ReadOnly>true</ReadOnly>
   </MappedFolder>
</MappedFolders>
We get them on the desktop in the sandbox:
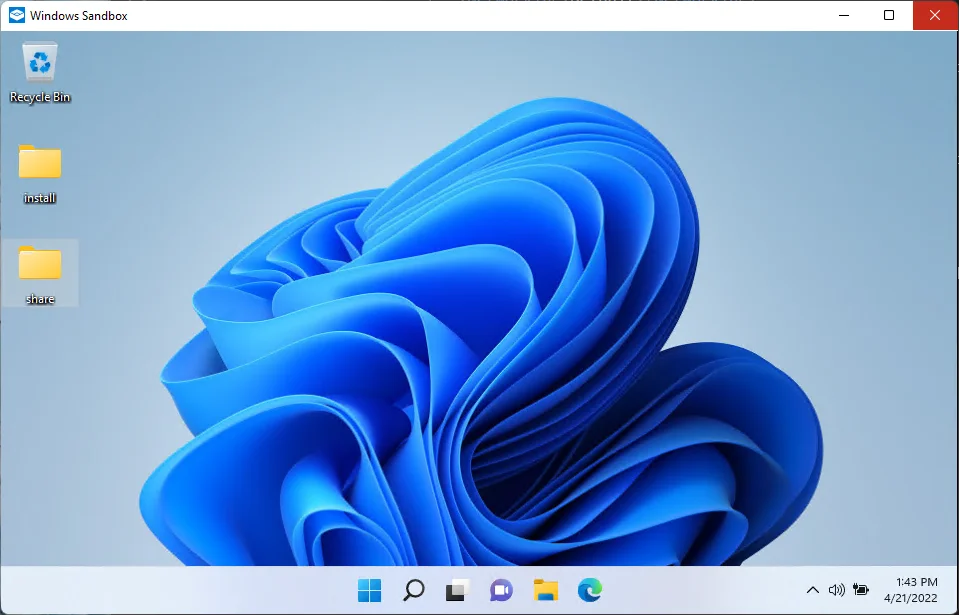
In this case, we’ve got the share folder to sync files between the sandbox and the host, and an install folder to map some installers, some custom binaries, and a couple of configuration scripts to run in the sandbox. Talking of which…
Auto-configuration
In the wsb configuration file you can use LogonCommand to run a script. For example, if we first map a folder into the sandbox (in this case read-only):
<MappedFolder>
    <HostFolder>C:\Users\scott\Work\windows\win_sandbox\install</HostFolder>
    <ReadOnly>true</ReadOnly>
</MappedFolder>
We can call that script automatically when the sandbox logon is complete:
<LogonCommand>
    <Command>C:\Users\WDAGUtilityAccount\Desktop\install\install.bat</Command>
</LogonCommand>
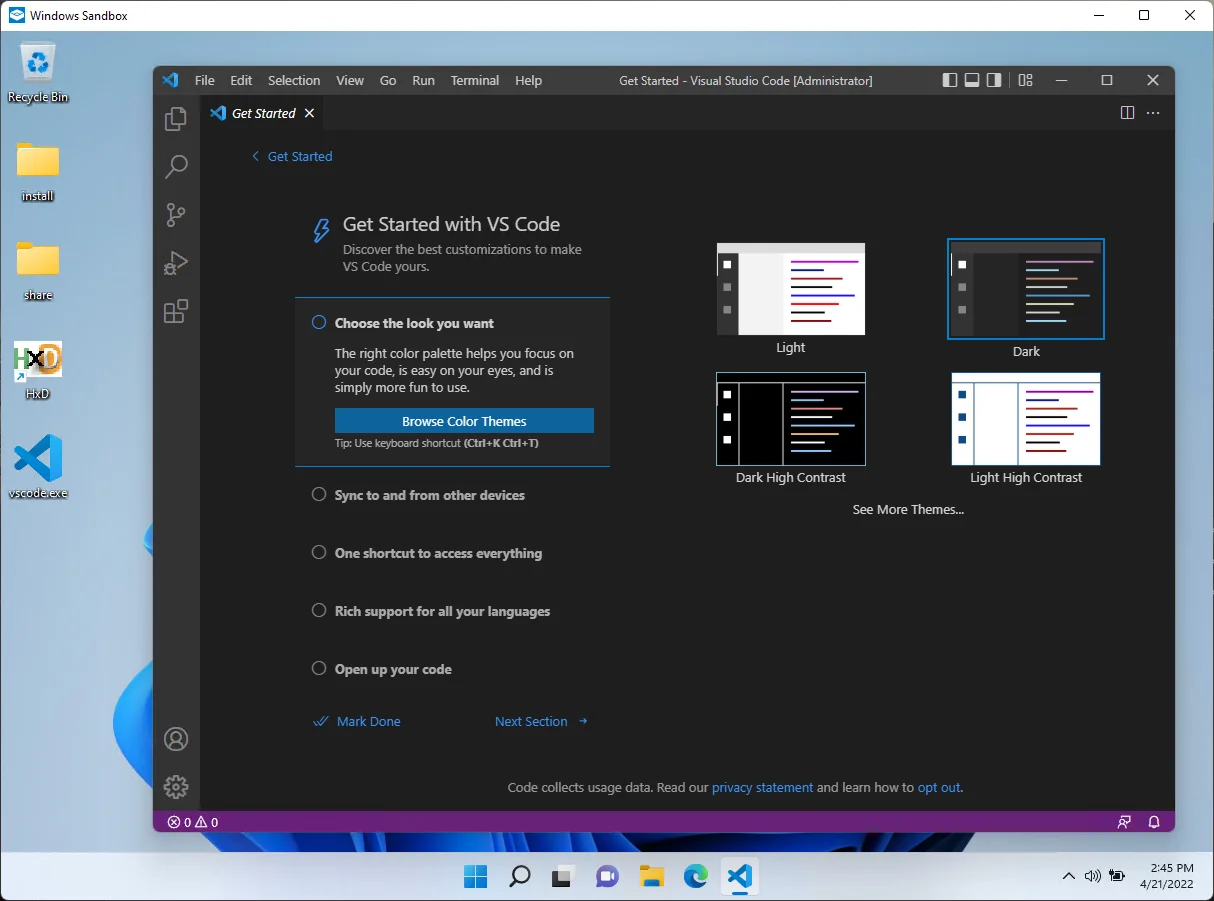
The script we’re using does four things, which is a nice example:
REM Download Visual Studio Code (we could of course download a static version and put it in a mapped folder)
curl -L "https://update.code.visualstudio.com/latest/win32-x64-user/stable" --output C:\users\WDAGUtilityAccount\Desktop\vscode.exe

REM Install and run Visual Studio Code
C:\users\WDAGUtilityAccount\Desktop\vscode.exe /verysilent /suppressmsgboxes

REM Install HxD hex editor
start /wait C:\Users\WDAGUtilityAccount\Desktop\install\HxDSetup.exe /quiet /norestart

REM allow scripts in powershell
powershell.exe -noexit Set-ExecutionPolicy -ExecutionPolicy Unrestricted -Force

REM run powershell script to show file extensions, do other config
powershell.exe -noexit C:\Users\WDAGUtilityAccount\Desktop\install\config.ps1
You have to be a little patient to wait for it to complete, but when it does we have a nice, useful sandbox:
- Tips on using WSL2 and Windows Terminal
- What policies do I need in place as a small business?
- Getting Started with Microsoft Intune - Part 2

|
Scott is a technical cyber security professional with over fifteen years’ experience across a broad range of roles within the public and private sectors. With a deep understanding of cyber security, he has in his career focused on applied cryptography, network technologies, digital forensics and security research. At Red Maple he leads the delivery of all of our cyber security services. |